Using OneLogin API to Create and Update User Mappings
OneLogin is an identity platform that allows your users to quickly sign into, or sign up for, your application, and then enables you to manage them via the OneLogin Administration Portal.
OneLogin provides a comprehensive JSON-based REST API secured by OAuth 2.0. It also lets you access all the API methods through SDKs in a number of programming languages, including the OneLogin Python SDK. The API HTTP methods can be called with cURL, Postman, or any other tool you prefer.
Onboarding application users may involve tedious tasks that are prone to human errors. If you need to grant your users access to different applications based on user information, like their address or department, OneLogin user mappings will help you automate those tasks.
In this article, we’ll show you how you can create and manage user mappings with the OneLogin User Mappings API. We assume that you know your way around Python and that you are familiar with the authentication and authorization concepts.
Prerequisites
Sign Up for the OneLogin trial to create a new free account.
Get version 3.x of Python and follow the installation instructions.
Install Requests, a simple HTTP library for Python.
Create OneLogin user roles
To focus on the app features instead of bothering with how users sign in and sign up, you can integrate your apps with OneLogin. This integration will provide robust user authentication and authorization.
For each app you integrate, you must first create a configuration (also called an App) on the OneLogin platform. The configuration defines the strategy OneLogin will follow to grant your users access to your website or app.
We’ll create two apps on the OneLogin platform: TorontoNews and MontrealNews. Before that, however, let’s create the roles that will allow OneLogin to assign users to those apps.
Open the OneLogin Admin portal, go to Users > Roles, and create a role named TorontoReader.
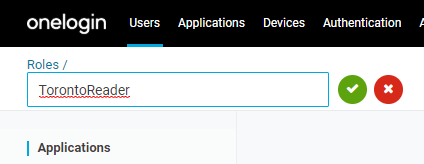
Create another role named MontrealReader.

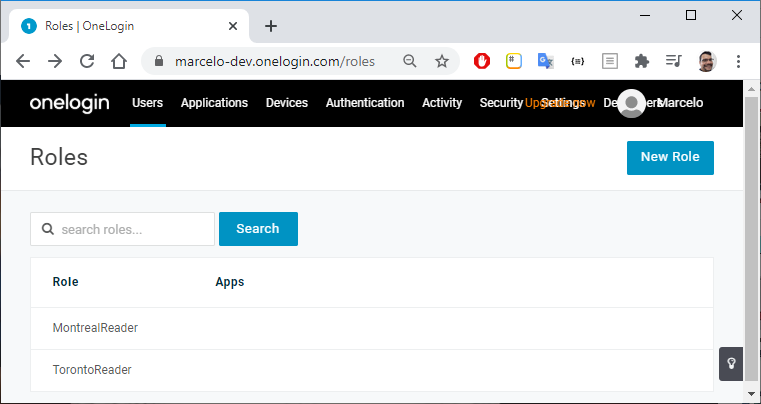
The roles you’ve created are listed on the Roles page.
Get a OneLogin API access token
To manage your applications, OneLogin lets you access all the API methods through convenient development kits in a number of programming languages that you can quickly implement in your apps. In these examples we’ll use Python. OneLogin also provides a comprehensive REST API based on JSON messages and secured by OAuth 2.0.
We’ll access the OneLogin API by running methods provided by the Requests HTTP library for Python.
To work with the Request library and handle the JSON data for the REST API, import these libraries into your application:
import requests
import jsonLog in to your OneLogin account and go to Developers > API Credentials to get your Client ID and Client Secret. Keep these credentials in a secure location, such as your computer environment variables.
Call the
/auth/oauth2/v2/tokenAPI endpoint and pass your OneLogin credentials to receive an access token. This secure token is required when you call any endpoint in the OneLogin API.Copy the following commands to your Python terminal to request an access token and store it in the headers object. This variable will be passed in the headers of the subsequent requests. Replace <subdomain> with your OneLogin subdomain.
api_domain = 'https://<subdomain>.onelogin.com'
r = requests.post(api_domain + '/auth/oauth2/v2/token',
  auth=(ONELOGIN_CLIENT_ID, ONELOGIN_CLIENT_SECRET),
  json={
    "grant_type": "client_credentials"
  }
)

response = r.json()
access_token = response['access_token']

headers = headers = {'Authorization': 'Bearer ' + access_token, 'content-type': 'application/json'}
Get Ids for the MotrealReader and TorontoReader roles you’ve created via OneLogin Portal and store them in variables.
response = requests.get(api_domain + '/api/1/roles?name=TorontoReader', headers=headers)

json_data = json.loads(response.content)
toronto_reader_role_id = json_data['data'][0]['id']

response = requests.get(api_domain + '/api/1/roles?name=MontrealReader', headers=headers)

json_data = json.loads(response.content)
montreal_reader_role_id = json_data['data'][0]['id']
Create OneLogin apps
Now we’ll create two OneLogin apps, named TorontoNews and MontrealNews, using the OneLogin API.
When creating a new app, the OneLogin API requires you to inform the app name as well as the connector. A connector is a template for apps in your OneLogin account. Different connectors provide different sets of configurations, options, and requirements.
For our apps, we’ll choose the OpenId Connect (OIDC) connector, but we’re not going to dive into connector details. For more information, refer to List Connectors - OneLogin API.
Get a list of OneLogin connectors, then find the Id for OpenId Connect (OIDC):
response = requests.get(api_domain + '/api/2/connectors?name=OpenId+Connect+%28OIDC%29', headers=headers)

json_data = json.loads(response.content)
connector_id = json_data[0]['id']
Create the TorontoNews app with the Id of the TorontoReader role as a parameter.
app_data = { "connector_id": connector_id, "name": "TorontoNews", "role_ids": [toronto_reader_role_id] }

response = requests.post(api_domain + '/api/2/apps', headers=headers, data=json.dumps(app_data))

json_data = json.loads(response.content)
toronto_app_id = json_data['id']
Create a MontrealNews app with the Id of the MontrealReader role as a parameter.
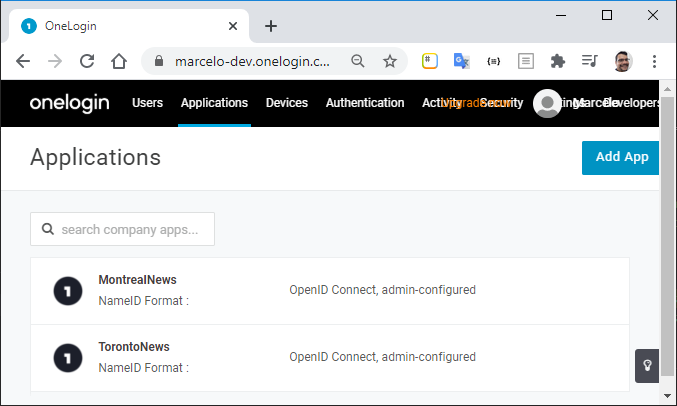
app_data = { "connector_id": connector_id, "name": "MontrealNews", "role_ids": [montreal_reader_role_id] }

response = requests.post(api_domain + '/api/2/apps', headers=headers, data=json.dumps(app_data))

json_data = json.loads(response.content)
montreal_app_id = json_data['id']
Go to Applications > Applications to see the new apps you’ve just created.
Create user mappings
User management is a powerful set of features in the OneLogin platform. However, depending on your user base size and the number of apps you handle, you may need more control than manual user management via the OneLogin portal offers.
User mappings enable you to automate changes to user attributes, roles, and groups, based on conditions that you define. Typically, you use mappings to grant application access based on user attributes stored in third-party directories.
Let’s create user mappings with rules that automatically assign users to the apps.
Using the API, create a mapping that gives access to the
MontrealNewsapp to those users whosecustom_attribute_cityequals Montreal. This mapping will have one action,add_role, with the value “MontrealReader”.mapping_data = { "name":"MontrealNews Mapping", "match":"all", "enabled":True, "position":None, "conditions":[ { "source":"custom_attribute_city", "operator":"=", "value":"Montreal" } ], "actions":[ { "action":"add_role", "value":[ str(montreal_reader_role_id) ] } ] } response = requests.post(api_domain + '/api/2/mappings', headers=headers, data=json.dumps(mapping_data)) json_data = json.loads(response.content) mapping_montreal_id = json_data['id']Repeat the same exercise for the TorontoNews app and the users whose
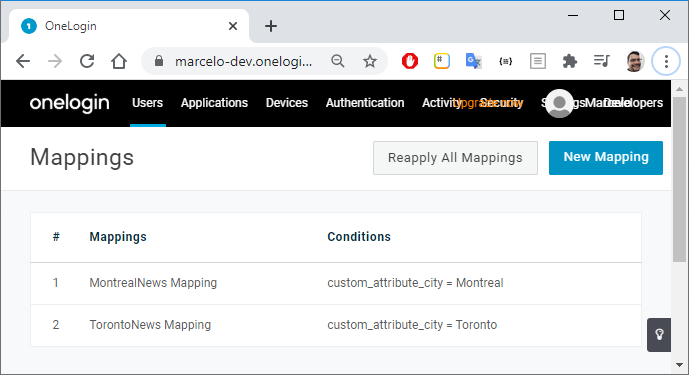
custom_attribute_cityequals Toronto.mapping_data = { "name":"TorontoNews Mapping", "match":"all", "enabled":True, "position":None, "conditions":[ { "source":"custom_attribute_city", "operator":"=", "value":"Toronto" } ], "actions":[ { "action":"add_role", "value":[ str(toronto_reader_role_id) ] } ] } response = requests.post(api_domain + '/api/2/mappings', headers=headers, data=json.dumps(mapping_data)) json_data = json.loads(response.content) mapping_toronto_id = json_data['id']Go to Users > Mappings to see the mappings you’ve created.
Create users
After creating roles, apps, and mappings, we’ll use OneLogin API to create and onboard our users.
Create a couple of users with the custom attribute city set to “Montreal” and “Toronto,” respectively.
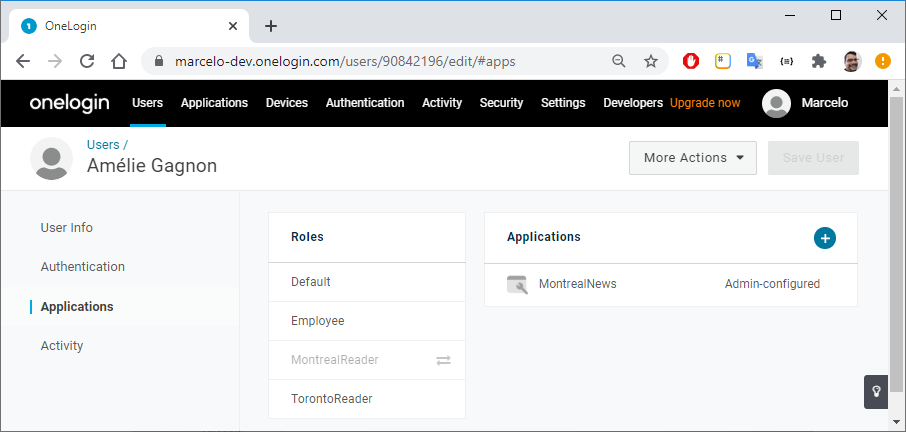
user_data = {
    "email": "amelie.gagnon@myemail.com",
    "firstname": "Amélie",
    "lastname": "Gagnon",
    "username": "Amélie Gagnon",
    "custom_attributes": {
      "city": "Montreal",
  }
}

response = requests.post(api_domain + '/api/2/users', headers=headers, data=json.dumps(user_data))

json_data = json.loads(response.content)
user1_id = json_data['id']

user_data = {
    "email": "thomas.tremblay@myemail.com",
    "firstname": "Thomas",
    "lastname": "Tremblay",
    "username": "Thomas Tremblay",
    "custom_attributes": {
      "city": "Toronto",
  }
}

response = requests.post(api_domain + '/api/2/users', headers=headers, data=json.dumps(user_data))

json_data = json.loads(response.content)
user2_id = json_data['id']
Go to Users > Users and notice that the users are automatically assigned the MontrealReader or TorontoReader role:
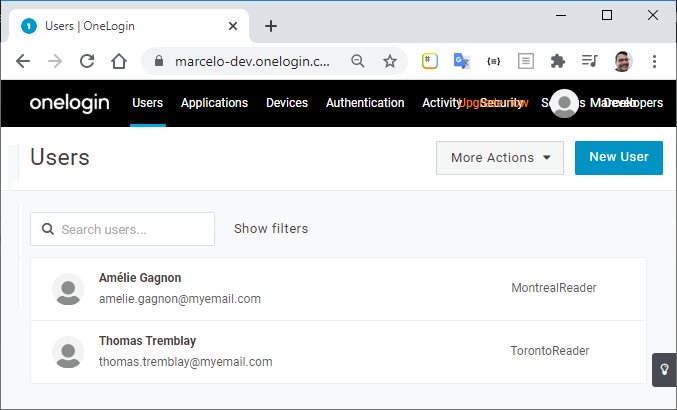
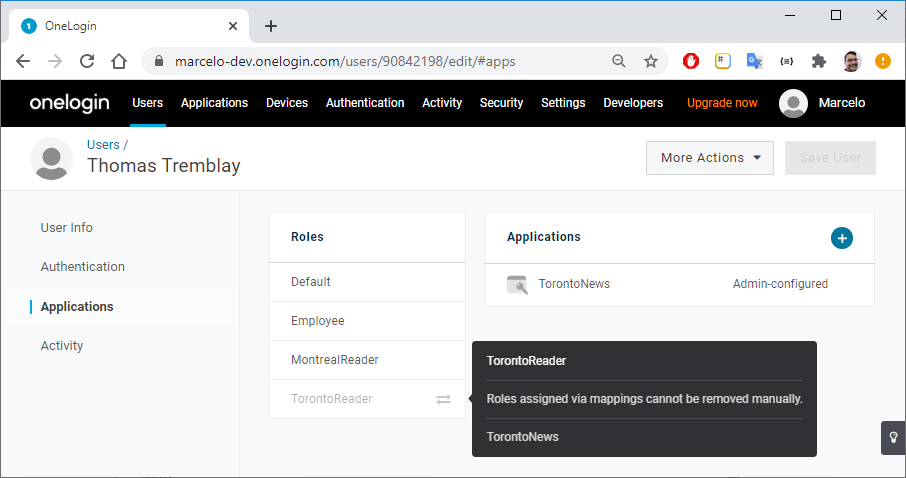
Since those roles are already assigned to the apps, users are indirectly granted access to the application they need to use.

Roles assigned via mappings cannot be removed manually.
Auto-assigning roles
Expanding on the idea provided in this article, try to implement another business scenario: you work in the IT department for a large corporation that uses OneLogin to authenticate and authorize its employees’ accounts. As new employees are hired, they must be granted access to one or more of the many enterprise applications.
For instance, accounting employees will start using the bookkeeping application as soon as they arrive. You could set up a mapping that automatically adds the AccountingUser role to any new user whose department is Accounting.
Conclusion
In this article, we walked you through the steps necessary to create and manage user mappings via the OneLogin API.
The scenarios we considered were pretty basic. We encourage you to experiment with the OneLogin User Mappings API and see how it handles more complex cases.
Don’t hesitate to contact OneLogin experts to ask questions specific to your needs, or get a custom demo.
Here is some additional reading we suggest:
Have a Question?

Found a problem or a bug? Submit a support ticket.

Looking for walkthroughs or how-to guides on OneLogin's user and admin features? Check out the documentation in our Knowledge Base.

Have a product idea or request? Share it with us in our Ideas Portal.