How to Validate a JWT Access Token
In a world where single-page apps (SPAs) and APIs are becoming increasingly popular, authorization is becoming increasingly difficult.
In the past, developers commonly handled API authorization via API keys. API callers would send the API key with each request, and the API receiving the request would look up the key to ensure the caller had permission to access the resource they had requested.
API keys have disadvantages, however.
First, they’re vulnerable to data breaches. They typically don’t expire, so attackers can fraudulently use stolen API keys to access APIs.
Even worse, API key compromises often occur even without a known data breach. If they’re sent as part of an unencrypted HTTP request — or obtained via a Man-in-the-middle attack on an HTTPS request — an attacker can obtain a copy of the key without anyone realizing it.
Also, API keys usually require extra database lookups. When an API receives a request with an API key, it must load the user and roles associated with the key and ensure the user has permission to access the requested resource.
There must be a better way.
A Note on API Authorization Servers
You can configure an OIDC app to behave as a simple authorization (“authz”) and authentication (“authn”) mechanism, allowing your application access to standard identity information, but you can also connect any OIDC app to an API Authorization Server configuration. This allows greater control over the content of the access tokens themselves.
When appropriate we will call out any differences you might see when an access token is requested in a basic OIDC flow versus in a flow against an API Authorization Server-enabled OIDC app.
JSON Web Tokens
JSON Web Tokens (JWTs) are one solution to the drawbacks of API keys. JWTs offer a standardized way of securely storing and sharing data in JSON format. Each JWT is cryptographically signed, so it’s easy to verify that it is legitimate. An API user can’t just make up their own JWT and use it to access the API because that user won’t have access to the secret key used to generate the correct JWT signature.
JWTs contain three parts:
- header
- payload
- signature
Each piece of the JWT is base-64 encoded separately, and then all three elements are joined by a dot to form a single string. A token’s payload contains a JSON object, and each of the object’s properties is called a claim.
While you can roll your own JWT generation and verification infrastructure, it’s usually best to leave security to the experts. That’s where OneLogin comes in. OneLogin is a cloud-based identity and access provider that can handle all of your application’s authentication needs - including generating JWTs and verifying their signatures.
But even when a JWT’s signature is valid, it’s still important to perform additional validation to ensure that the token isn’t expired and grants access to the requested resource(s).
This article will examine the steps needed to validate a OneLogin JWT access token in Node.js.
Obtaining a JWT with OneLogin
Before we can validate a JWT, we must first obtain a JWT. Fortunately, OneLogin makes that easy.
In a typical application, users will authenticate with OneLogin and receive a JWT that grants them access to your API. To keep things simple, we’re going to use OneLogin’s Node.js sample code as a base. This approach simulates the way we’d use JWTs in a real-world web application.
Start by creating an OpenID Connect (OIDC) application in the OneLogin portal. To get the code up and running, follow the instructions on this page, with a couple of small changes:
- After creating the OIDC application, set the callback URI to
http://localhost:3000/oauth/callback. - In the .env file of the Node.js project, set the
SUBDOMAINvariable to match the subdomain you chose when you created your OneLogin account.
Note that our application is using the standard OIDC Authorization Code flow to obtain an access token. While this flow is very secure, it requires your OIDC application’s client secret, so you can only use it when you’re working on a web application with a back end you control. If you’re working with an app where you don’t control the back end, you should instead use the Implicit flow (for web apps) or Authorization code with PKCE (for native desktop and mobile apps) to obtain an access token.
Next, run npm install to download all of the project’s dependencies.
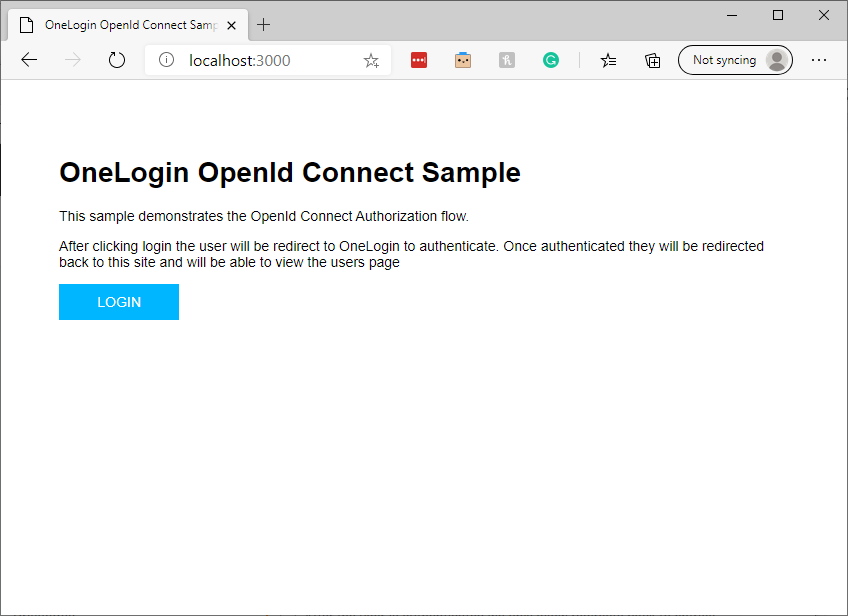
The project you’ve just set up is a straightforward Express.js application that uses Passport.js to integrate with OneLogin OpenID applications. To see it in action, run npm run start from the project directory. Then, open http://localhost:3000 in a web browser. You’ll see an application that lets you log in using OneLogin:
After login, you’ll see a simple main menu:
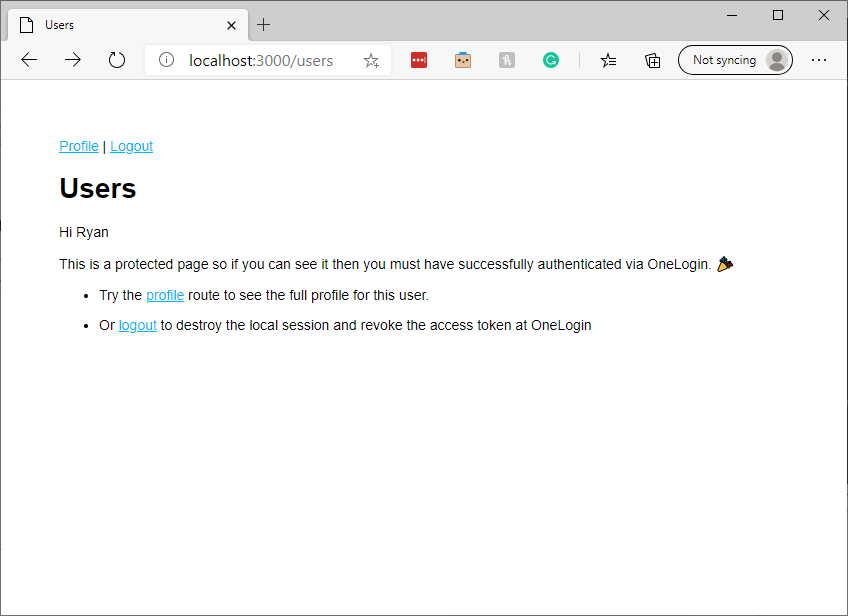
We’re going to add a token page under the users route to make it easy to acquire and inspect a JWT token.
Let’s begin by adding a new route to routes/users.js:
router.get('/token', function(req, res, next) {
});
To inspect a JWT token, we must first obtain one. Fortunately, OneLogin’s sample app provides it. Once a user has logged in to the Express app, it stores a copy of the access token we need.
We can access it inside any Express request via the req.session.accessToken variable. We must send the access token to the OneLogin OIDC app’s introspection endpoint to validate the token.
If the token is valid, the introspection endpoint will respond with an HTTP 200 response code. The body of the response will also contain an augmented version of the original JWT token’s payload.
To start the validation process, add the following code inside the route function we create above in the users.js file:
request.post(
    `https://${ process.env.SUBDOMAIN }.onelogin.com/oidc/2/token/introspection`,
    {
    'form': {
      'token': req.session.accessToken,
      'token_type_hint': 'access_token',
      'client_id': process.env.OIDC_CLIENT_ID,
      'client_secret': process.env.OIDC_CLIENT_SECRET
    }
  },function(err, response, body){
  var token = JSON.parse(body);
  var tokenValid = false;

      // additional validation code goes here.
  });
This code creates an HTTP POST request to OneLogin’s token introspection endpoint.
The introspection endpoint requires four parameters:
- The token we’d like to validate
- A token type hint
- The OIDC application’s client ID
- The application’s client secret
We retrieve the user’s access token from Express’s session, set the token type hint to ‘access_token’ since that is the type of token we are sending, and we read the OIDC client ID from the app’s environment variables.
The endpoint expects the POST body to be in a URL-encoded form format. The request library accepts the form parameters as a JavaScript object and handles the encoding for us.
If we’ve supplied valid data to the token introspection endpoint, the body parameter of the callback function will contain a string holding a JSON object that looks similar to this:
{
  "active": true,
  "sub": "82690535",
  "client_id": "your-client-id",
  "exp": 1601043304,
  "iat": 1601039704,
  "sid": "9f8673aa-xxxx-xxxx-xxxx-17379f03d401",
  "iss": "https://contentlab-dev.onelogin.com/oidc/2",
  "jti": "VLlmnYZx0q7jYdYX_L9gs",
  "scope": "openid profile"
}
Above, we see the signed-in user’s JWT token. The data returned by OneLogin only includes the token payload. We’d have to separate the token’s payload from its header and decrypt it if we had rolled our own JWT implementation. Fortunately, OneLogin has done the hard work for us.
OneLogin has altered the data slightly: the signed-in user’s access token would have stored the client ID in the JWT aud (audience) claim. OneLogin’s response also adds an active claim indicating whether the user is currently signed into OneLogin.
Note that decoding a JWT via the introspection as we’ve done here is convenient, but not very efficient. In a backend web API, we wouldn’t want to call our OneLogin OIDC app’s introspection endpoint on every call our API receives. Instead, we could use a JWT library that loads and caches our OIDC app’s JSON Web Key Set (JWKS) uses it to verify the token’s authenticity, and then base64-decodes it so we can validate its fields.
Understanding JWT Claims
Let’s start by looking at the client_id claim. In OneLogin-generated JWT tokens, the aud and client_id claims should equal the client ID of the OIDC app that generated the token. In access tokens generated by authorization servers created via OneLogin’s API Authorization API, the aud claim should contain the base URL that was provided when creating the authorization server.
In the route added above, add the following code to parse the token payload out of the response body and set up a variable to track whether our token is valid.:
var token = JSON.parse(body);
var tokenValid = false;
Next, add a line to make sure the client ID is correct:
var clientIdValid = body.client_id === process.env.OIDC_CLIENT_ID;Then we must ensure the token hasn’t expired. A JWT token’s “exp” claim holds its expiry time. This claim is formatted as a Unix Timestamp — the number of seconds elapsed since the beginning of January 1, 1970, UTC.
var currentTimestamp = new Date().getTime() / 1000;
var tokenIsNotExpired = body.exp > currentTimestamp;
We start by storing the current date and time in Unix timestamp format. The getTime method of JavaScript’s Date object almost gives us what we need, but provides the count in milliseconds instead of seconds. Dividing by 1000 turns it into a valid Unix timestamp.
We then check that the token hasn’t expired by verifying that the exp claim’s value is greater than the current time.
Finally, check that the JWT includes a scope indicating that the user is authorized to make the request they’re making. OneLogin API Authorization servers contain a list of scopes that can be added to tokens requested from it.
For example, an authorization server for a blogging app might add scopes such as post:create, post:edit, and post:delete. In this case, if a user asked your API to delete a blog post, you’d want to verify that their JWT token contains the post:delete claim. In our sample endpoint, the code to check for this scope might look like:
var isAuthorized = body.scope.includes("post:delete")In the end, our final token validation route looks like this:
router.get('/token', async function(req, res, next) {
  request.post(
    `https://${ process.env.SUBDOMAIN }.onelogin.com/oidc/2/token/introspection`,
    {
    'form': {
      'token': req.session.accessToken,
      'token_type_hint': 'access_token',
      'client_id': process.env.OIDC_CLIENT_ID,
      'client_secret': process.env.OIDC_CLIENT_SECRET
    }
  },function(err, response, body){
    var token = JSON.parse(body);
    var tokenValid = false;

    var clientIdValid = token.client_id === process.env.OIDC_CLIENT_ID;

    console.log(token.client_id)
    console.log(process.env.OIDC_CLIENT_ID)
    // current time as Unix timestamp
    var currentTimestamp = new Date().getTime() / 1000;
    var tokenIsNotExpired = token.exp > currentTimestamp;

    // sample code to ensure that the required claim is included
    // var isAuthorized = token.scope.includes("post:delete")

    // uncomment isAuthorized if checking for a specific scope
    tokenValid = clientIdValid && tokenIsNotExpired //&& isAuthorized
  });
});
Note that the code above contains some commented-out samples to demonstrate how you’d check for a specific scope in a real application.
Next Steps
And we’re done! Without much code, we’ve learned how to check the validity of the claims you can expect to find in a typical JWT token.
If you’re developing a web app or API, you know that authentication and authorization are pain points that distract you from delighting your users. Why not let OneLogin handle it for you so you can focus on all the other problems you need to solve? Get started today with a developer account.
Have a Question?

Found a problem or a bug? Submit a support ticket.

Looking for walkthroughs or how-to guides on OneLogin's user and admin features? Check out the documentation in our Knowledge Base.

Have a product idea or request? Share it with us in our Ideas Portal.