How to establish a OneLogin session via API using a Form Post
OneLogin is a complete identity and access management solution that is secure and easy to use. OneLogin supports Security Assertion Markup Language (SAML), SCIM (System for Cross-domain Identity Management), OIDC (OpenID Connect) and OAuth 2.0.
This article will show how to use OneLogin’s OAuth 2.0 APIs to authenticate a user with OneLogin and start a OneLogin session using a form POST. This flow is often used within web applications that prefer as much interaction as possible with an identity provider to occur on the backend. It also has the added benefit of avoiding a CORS request from the browser since the session is started using a form POST from the browser. Many browsers are making it harder to get this flow working due to increasing restrictions around Cross-Site Tracking cookies.
Authentication flows can be confusing. There are many types for different scenarios. The best thing to do to prevent confusion is to understand your goal and list out the steps needed to accomplish the goal. In this flow we want to start a session with OneLogin and set a cookie in the user’s browser without using a CORS request. To do this we will need to:
- Create API credentials
- Get an Access Token (using the API credentials)
- Authenticate the user (using the access token)
- Get a session token
- Post the session token to OneLogin (this will also set a cookie in the browser)
OneLogin makes this simple. Let’s get started by setting up a developer account which will allow us to get API credentials and register our users.
Setting up a Developer Account
Before you write a single line of code you will need to set up a developer account, create API credentials, and set up your users. A developer account will allow you to specify callbacks to localhost which are needed for other flows. Once you start using OneLogin in production you will need to signup for a subscription and localhost will not be allowed for callbacks.
A complete description of all the capabilities available within OneLogin is beyond the scope of this article. However, setting up your OneLogin account correctly is important so this article will start with a quick tutorial on setting up OneLogin.
To set up a developer account go to https://www.onelogin.com/free-trial and fill out the information shown in the screenshot below. Your sitename will become a subdomain of OneLogin. Once you save the form above an email will be sent to the work email specified above. This email will contain links and instructions that walk you through the process of creating a user account for yourself. Once this is complete you will be the administrator of the account.
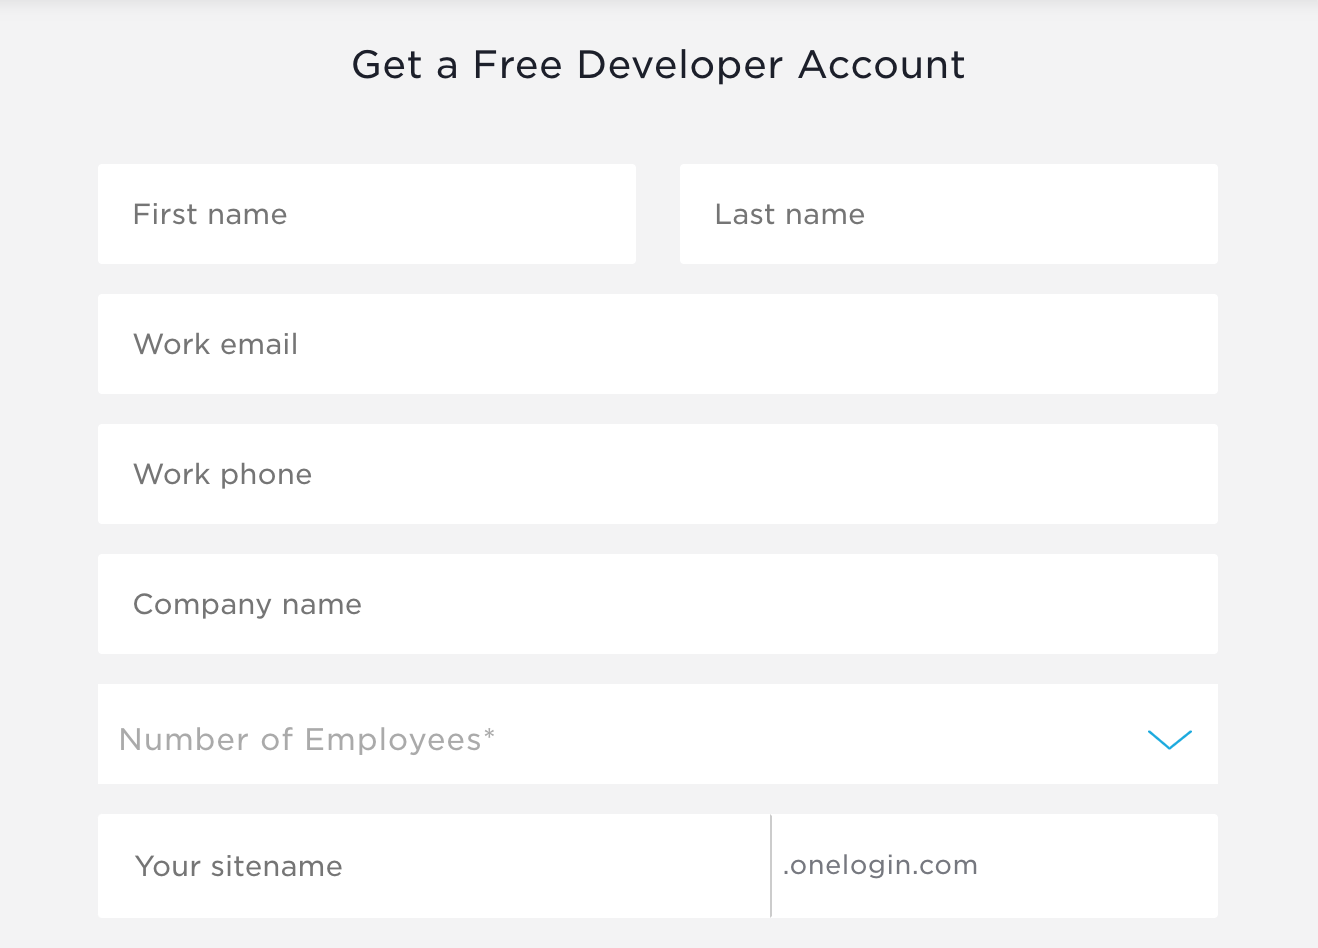 Creating a Developer Account
API Credentials
Once you have a developer account you need to create API credentials. To do this log into OneLogin using the administrator’s credentials which you created when setting up your developer account. The URL will be <subdomain>.onelogin.com/admin where subdomain is the site name you specified when creating your developer account.
Once logged in, go to Developers > API Credentials. This will bring up the Create new API credential page shown below. Specify a meaningful name and pick a scope. The minimum scope required is Auth Only. Once this form is saved, a client ID and secret pair will be created. Make a note of these credentials as we will need them later to get an access token for calling OneLogin APIs.
Creating Users
The screenshot below shows only a portion of the New User screen. There is much more you can save in OneLogin to describe your users. For the purposes of our sample application, we just need to specify first name, last name, email and username (the minimum required fields are email and username). Make sure the email is a valid email address that you have some control over (for testing purposes). When this page is saved the new user will be sent an invitation. When the invite is accepted the new user will be asked to set up a password.
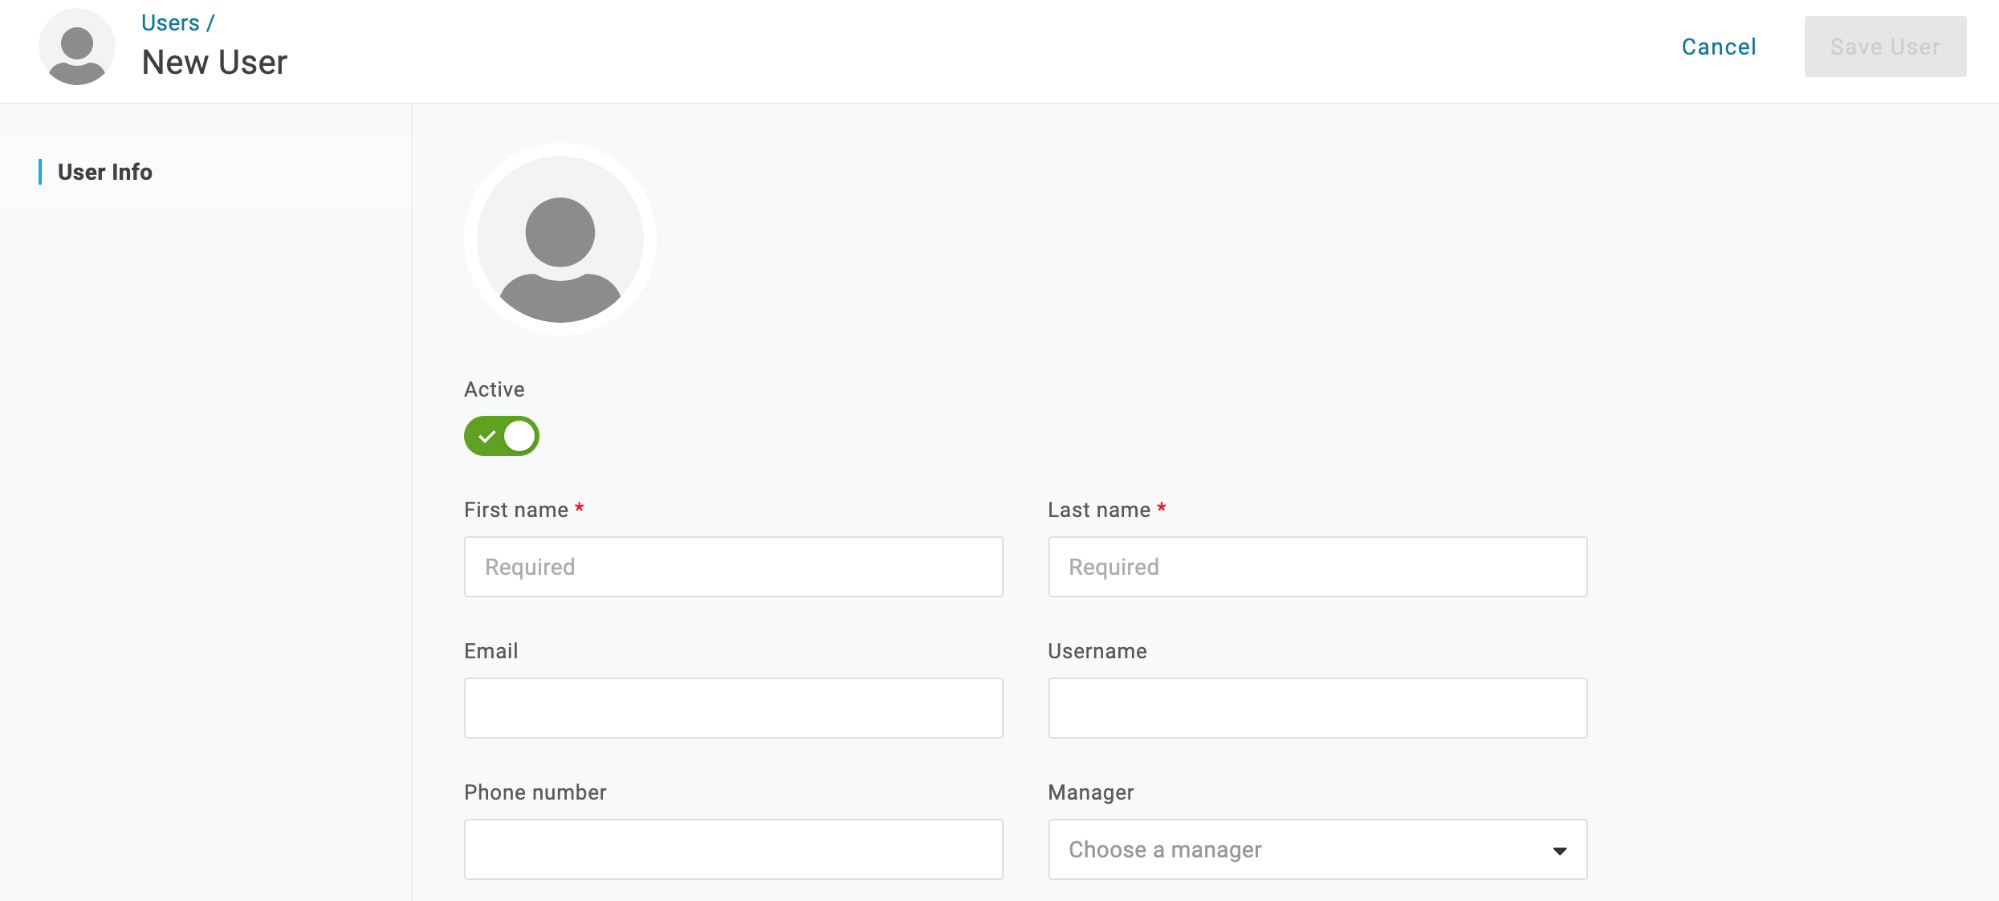 Adding a New User
Creating the Login Page
The HTML below displays the login page. There is nothing special on this page. It is plain old HTML.
<h1>How to establish a OneLogin session via API using a Form Post</h1>
<p>
 This sample demonstrates the OpenId Connect <b>Resource Owner Password Grant</b>.
</p>
<h2>Try it</h2>
<form method="POST" action="/login">
 <div>
   <input type="text" name="username" placeholder="Enter a username" />
 </div>
 <div>
   <input type="password" name="password" placeholder="Enter a password" />
 </div>
 <div>
   <input type="submit" class="btn" />
 </div>
</form>
The one thing worth noting on this page is that when the user submits their credentials, the form POST method will send the form to the login route. When this page is posted and the login route is run, two calls to OneLogin must occur to authenticate the user.
First, you must get an access token, which is needed for all subsequent calls to OneLogin.
Second, you must call the OneLogin API to authenticate the user with the access token and the username and password specified via the login page below. The code for these two steps are shown in the next two sections.
Getting an Access Token
The snippet below is part of the login route which gets invoked when the user submits the login page. It retrieves an access token that is needed when calling OneLogin APIs. The client ID and client secret used must be the same client ID and client secret that you generated in the API Credentials page during the OneLogin setup described at the start of this article. (Note: Replace <subdomain> with your OneLogin subdomain.)
console.log("Getting access token.")
 let options_token = {
   method: 'POST',
   uri: 'https://<subdomain>.onelogin.com/auth/oauth2/v2/token',
   auth: {
     user: process.env.CLIENT_ID,
     pass: process.env.CLIENT_SECRET
   },
   json: {
     grant_type: 'client_credentials'
   }
 };

 request(options_token, function(error, response, body){
   if(error){
     console.log(error);

   }else{
     let access_token = body.access_token;
     console.log("Access Token:  " + access_token);
   }
Authenticating the User
To authenticate the user, run the snippet below. Notice that it is defined as a POST and it, in turn, sends a POST to OneLogin with the user’s credentials in the body of the message. Also notice that the access token we received in the previous call to OneLogin is set in the POST’s header. If authentication is successful the session token is saved and the application redirects to the mysession page. If authentication is unsuccessful, then a redirect back to the login page occurs.
   console.log("Authenticating user.");
     let options_auth = {
       method: 'POST',
       uri: `https://${ process.env.SUBDOMAIN }.onelogin.com/api/1/login/auth`,
       auth: {
         bearer: access_token
       },
       json: {
         username_or_email: req.body.username,
         password: req.body.password,
         subdomain: process.env.SUBDOMAIN
       }
     };

     request(options_auth, function(error, response, body){
       if(error){
         console.log("Auth Error");
         console.log(error);
         res.redirect('/');

       }else{
         console.log("session token:");
         console.log(body.data[0].session_token);
         req.session.session_token = body.data[0].session_token;
         res.redirect('/mysession');
       }
     });
Starting a Session
The session page is created in the following two snippets. The first snippet is the route declaration and the second snippet shows the HTML template. Notice that the route declaration sets a session_token variable that gets embedded into the session page itself. This is the session token that was saved when the user successfully authenticated.
Also notice that the form action is set to POST to the following URL:
https://<subdomain>.onelogin.com/session_via_api_token
The <subdomain> portion of this URL will get replaced by the value of the subdomain variable setup in the route. This must be the site name you set up when you registered for a developer account.
When this page is submitted by the user, a session will be started with OneLogin and a cookie will be set in the browser. This technique uses a form POST and avoids a CORS request from JavaScript running in the browser.
//
// Start a OneLogin session
//
router.get('/', function(req, res, next) {

 res.render('mysession', {
   title: 'mysession',
   subdomain: process.env.SUBDOMAIN,
   session_token: req.session.session_token
 });
});
<h1>Currently Authenticated User</h1>
<h2>Standard Attributes</h2>
<!doctype html>
<html>
<head>
<meta charset="utf-8">
</head>
<body>
<p>Auth API Test</p>
<form action=
"https://<subdomain>.onelogin.com/session_via_api_token" method="POST">
<input type="hidden" name="session_token" value="">
<input type="submit" placeholder="GO">
<input id="auth_token" type="hidden">
</form>
</body>
</html>Wrapping Up
In just a few simple steps, we learned how to start a OneLogin session using a form POST. Specifically, this article showed how to:
- Create API credentials
- Get an Access Token (using the API credentials)
- Authenticate the user (using the access token)
- Get a session token
- Post the session token to OneLogin (this will also set a cookie in the browser)
If you have questions, don’t hesitate to contact OneLogin experts to ask questions specific to your needs, or get a custom demo.
About the Code Sample
The code samples shown in this tutorial are written in Express.js which is a lightweight JavaScript framework built on top of Node.js. It allows server-side code to be run within the web server and also provides a templating engine for creating basic user interfaces. Don’t worry if you have never used Express.js. It is a very easy to understand framework and all the code samples presented here will still make sense if you have a basic understanding of JavaScript.
References
https://www.onelogin.com/developer-signup
https://developers.onelogin.com/api-docs/1/login-page/login-user-via-api
https://developers.onelogin.com/support
OneLogin
OneLogin API
Have a Question?

Found a problem or a bug? Submit a support ticket.

Looking for walkthroughs or how-to guides on OneLogin's user and admin features? Check out the documentation in our Knowledge Base.

Have a product idea or request? Share it with us in our Ideas Portal.