richard.chetwynd | November 21st, 2017
If you need to add authentication to an application and you want to use a third party as the authentication provider, then the recommended way to achieve this is using OpenId Connect.
OpenId Connect is widely adopted, so if you’ve ever signed into an application using your Facebook, Google or Twitter account before, then you’ve already witnessed how easy OpenId Connect makes user authentication.
Like Google or Facebook, OneLogin is also an OpenId Connect provider, which means that if you use OneLogin to store and manage the identities of your users, you can also use OneLogin to authenticate those users on your custom built apps.
Dotnet Core is the latest framework from Microsoft that lets you build apps once and deploy to not only Windows, but also Linux and Mac operating systems. It’s quickly gaining popularity, and as a result we’ve seen an increase in people wanting to add authentication to their Dotnet Core apps.
In this post I’ll cover the entire process of adding user authentication to a dotnet core application and using OneLogin as the OpenId Connect provider. I’ll also include code samples to make it super easy for you to follow along with your own application.
Note that you’ll need to be an administrator of a OneLogin account in order to follow along. If you don’t have administrator access to your company’s OneLogin account then you can sign up for a OneLogin Developer account here.
Step 1: Create a new Dotnet Core MVC application
I’ll assume that since you’re reading this post you already have Dotnet Core installed. If you don’t then download it here and I recommend using Visual Studio Code as a simple code editor.
Once you have your Dotnet Core environment installed, open a command prompt and enter the following to create a basic template for our sample app. It will create the new app in its own directory and download any reference libraries that are required.
> dotnet new mvc --auth None --name OidcSampleAppNow you can jump into the newly created directory and run your application with dotnet run to test that it works.
> cd OidcSampleApp
> dotnet run
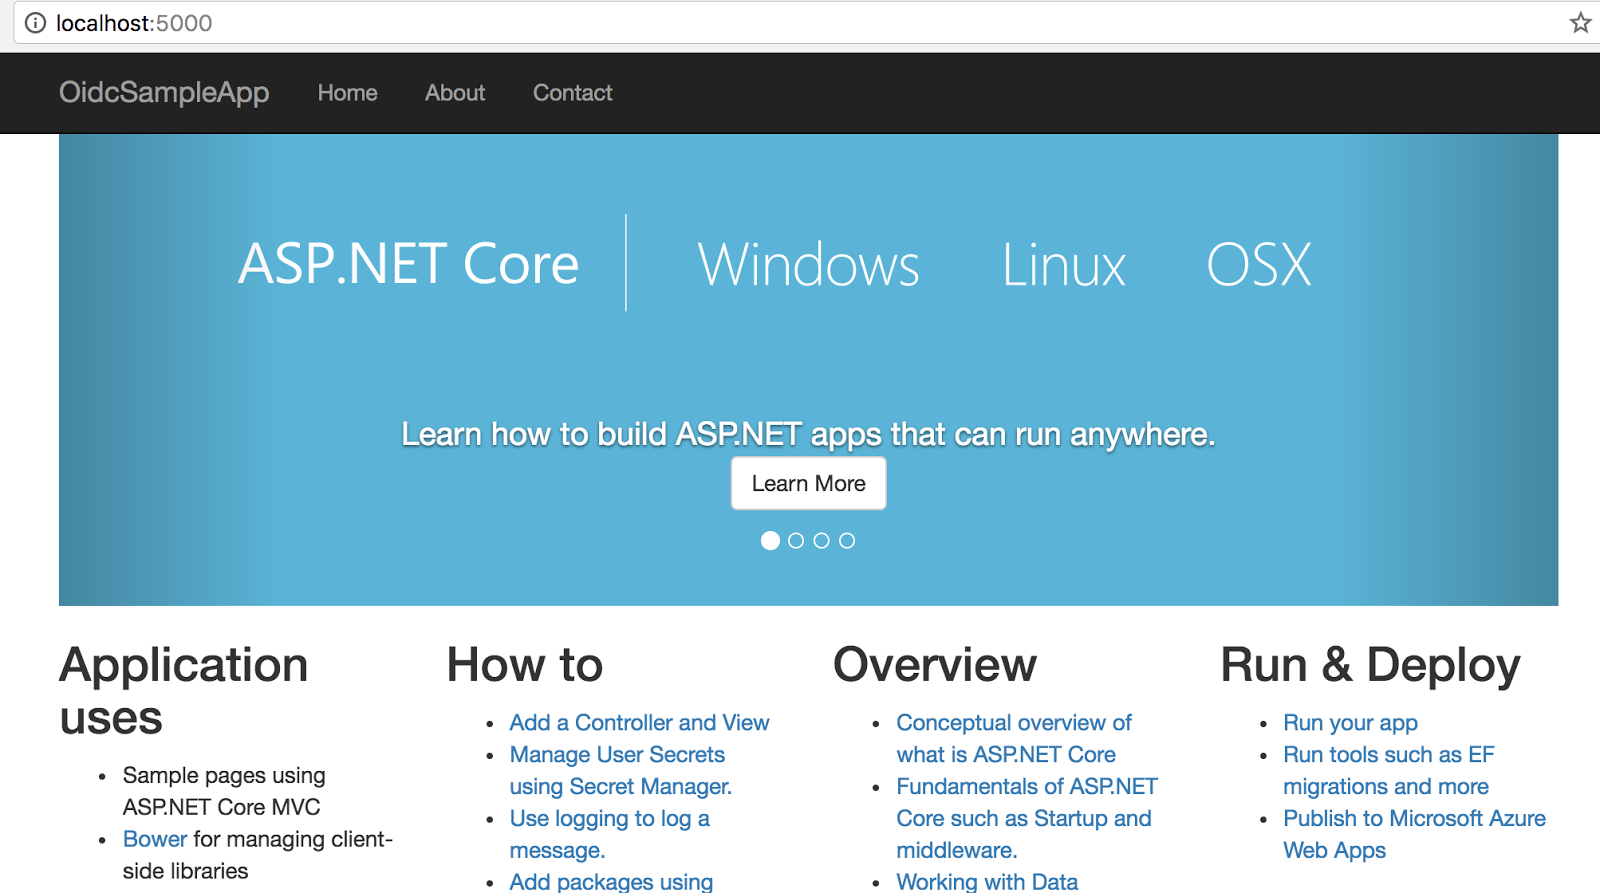
Once the app starts up, you can open a web browser and go to http://localhost:5000 where you will see your app running.
Use Ngrok for HTTPS testing via localhost
The purpose of this step is to expose your new Dotnet Core application to the internet so that we can do end to end testing with OneLogin. The reason we have to do this is because the OpenId Connect specification states that all communication must be over a secure HTTPS connection.
This requirement makes testing during the development process a little tricky unless, of course, you know about the fabulous Ngrok tool, which makes this process extremely easy.
The easiest way to install Ngrok is via NPM. You’ll already have NPM if you’ve previously installed Node.js but if you haven’t, you can download and install the Current or LTS Node.js from here.
Once you have Node installed, open a command prompt or terminal and run the following to install Ngrok for global use on your machine.
> npm install ngrok -gNow lets expose our Dotnet application, which is running on port 5000 to the world
> ngrok http 5000Note that if you’re not using dotnet run and instead running your application on Windows via Visual Studio, it’s likely that you will also have to add an extra option to pass on the expected host header.
> ngrok http <local-app-port> -host-header=”localhost:<local-app-port>”Ngrok will now fire into action and magically give you 2 public urls that map through to your local application. If you copy the https url and post it to your browser, you will see your application. You will also need this url for future steps in the tutorial.
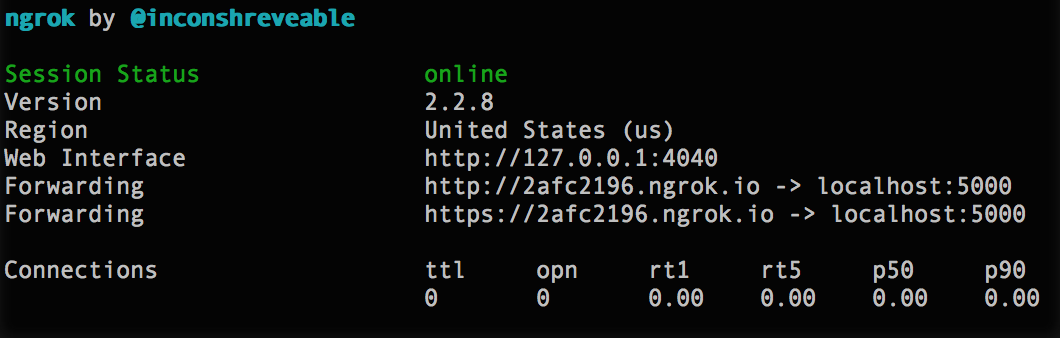
You should leave Ngrok running for the rest of this tutorial, as a new url is generated every time you restart it. This means you would have to keep changing in your code as you’ll see soon.
Step 2: Create an OpenId app in OneLogin
Now we’re going to leave the code for a moment and setup an OpenId Connect app via the OneLogin portal. Once this step is complete we will jump back into the code to complete the integration with the ClientId and Secret that is generated during this step.
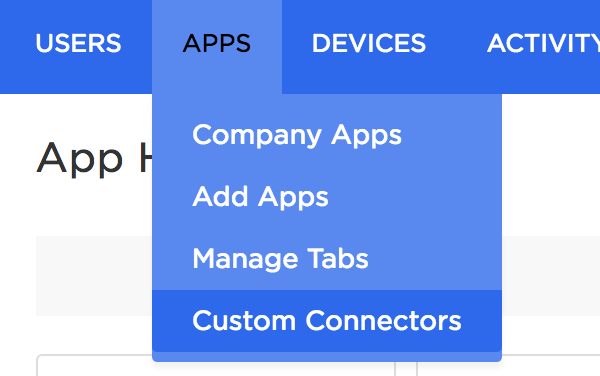
First off, we need to sign in to the OneLogin admin portal and create a new custom connector.
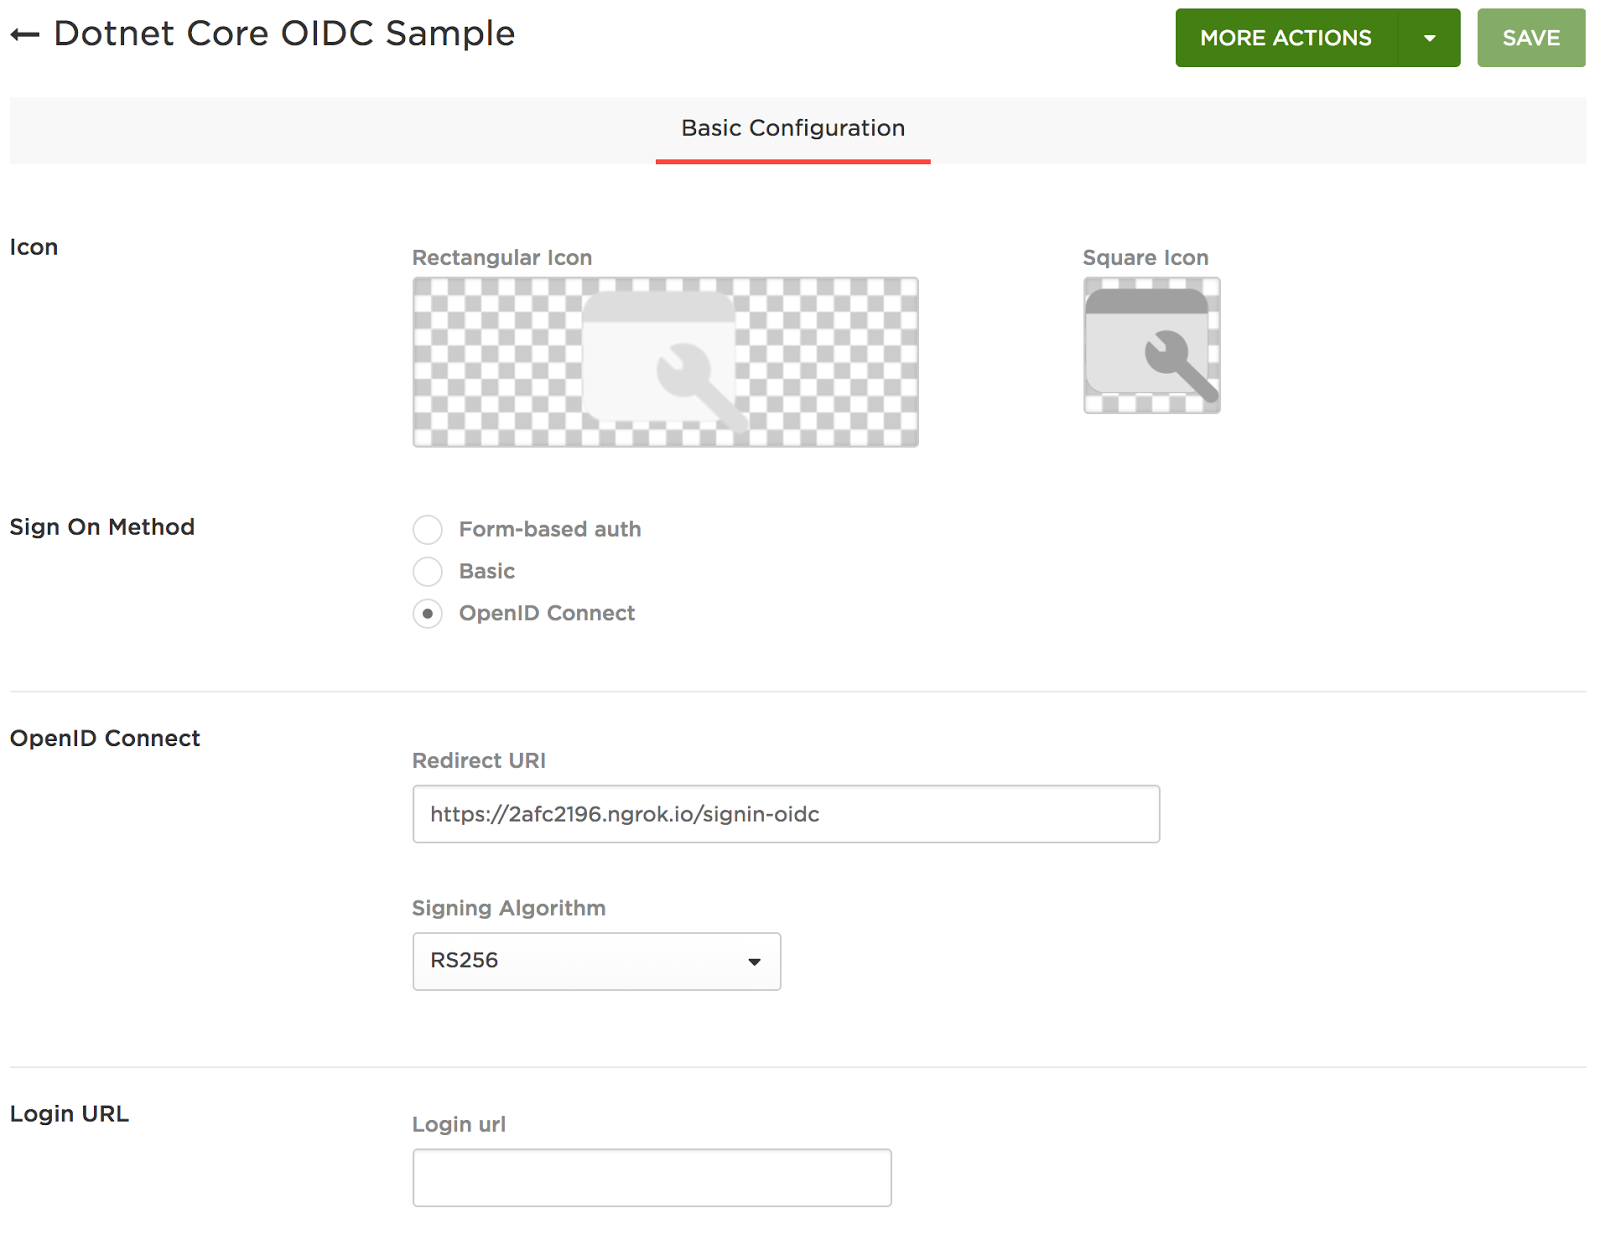
This is the basis of your OpenId Connect application and will require you to:
- Enter a name for your application
- Set the Sign On Method as OpenId Connect
- Provide a Redirect Uri which is where your users will be sent after they successfully login. In our case we will use the https url that was assigned to us via ngrok with the addition of /signin-oidc on the end which is where Dotnet expects the callback by default.
E.g. https://2afc2196.ngrok.io/signin-oidc
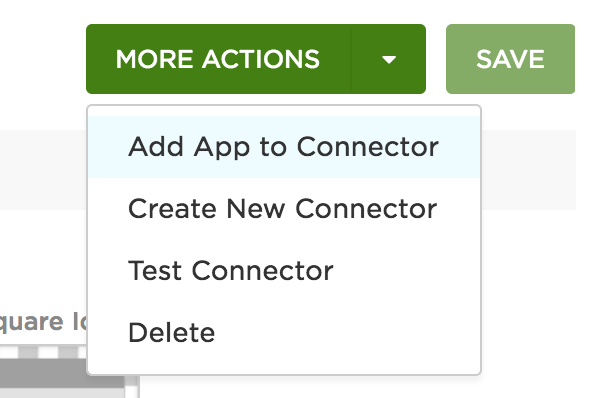
Once you have saved the new Connector you will see a “More Actions” button appear. Click this to “Add App to Connector”
You will be presented with the configuration page for a new application.

Click “Save” and then head to the SSO tab that appears.
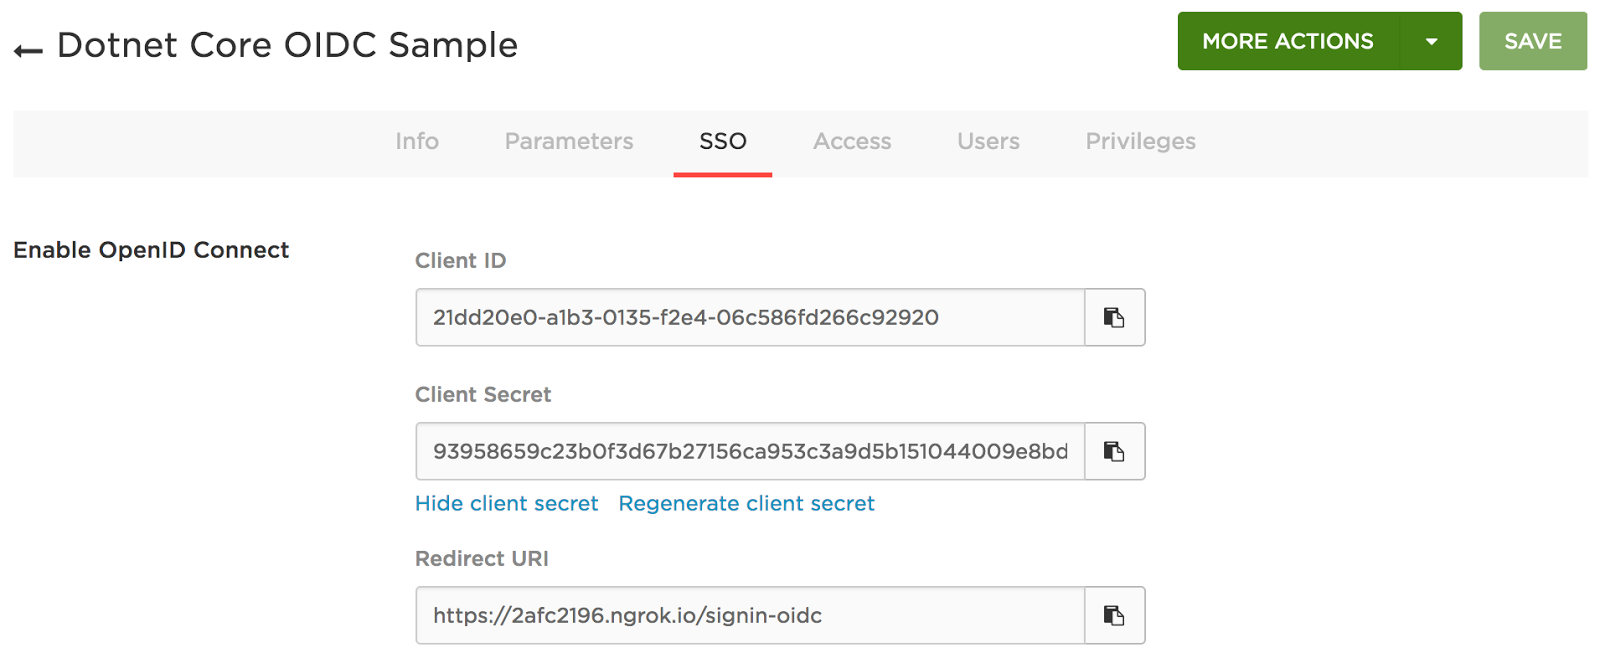
Now copy the Client ID and Client Secret that have been generated by OneLogin, and paste them into our Dotnet application where we created the placeholder values earlier.
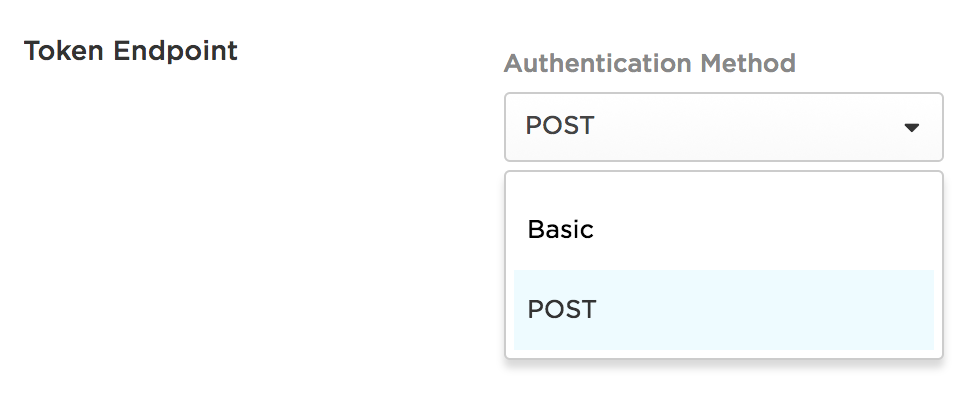
Then set the Token Endpoint Authentication Method to POST and click “Save”. You need to do this because the default Dotnet OpenId Connect libraries do not support the Basic method of authentication.
Step 3: Create the connection between our app and OneLogin
Now we are going to switch back to our Dotnet app where we will add the authentication piece that will redirect requests for “Secured” pages to OneLogin for authentication if the user is not currently authenticated.
We set this up in the Startup.cs that is included in the default MVC project.
First off let’s add the required references.
Startup.cs
using Microsoft.AspNetCore.Authentication.OpenIdConnect;
using Microsoft.AspNetCore.Authentication.Cookies;
using Microsoft.AspNetCore.HttpOverrides;
Then we want to add OpenId Connect and Cookie authentication configuration options to the “ConfigureServices” method. This is where you will enter the Client ID, Client Secret and your OneLogin OIDC endpoint.
Startup.cs
services.AddAuthentication(options => {
   options.DefaultScheme = CookieAuthenticationDefaults.AuthenticationScheme;
   options.DefaultChallengeScheme = OpenIdConnectDefaults.AuthenticationScheme;
})
.AddCookie()
.AddOpenIdConnect(o =>
   {
       o.ClientId = "";
       o.ClientSecret = "";
       o.Authority = "https://.onelogin.com/oidc";
       o.ResponseType = "code";
       o.GetClaimsFromUserInfoEndpoint = true;
   }
);
Note that you MUST NOT hardcode the Client Id and Client Secret in the Startup.cs file. I’ve only done this to simplify this sample but would a configuration file in normal circumstances.
Finally we append the following to the “Configure” method to tell the app to use authentication and also enable testing via Ngrok.
Startup.cs
app.UseAuthentication();

// This is needed if running behind a reverse proxy
// like ngrok which is great for testing while developing
app.UseForwardedHeaders(new ForwardedHeadersOptions
{
   RequireHeaderSymmetry = false,
   ForwardedHeaders = ForwardedHeaders.XForwardedFor | ForwardedHeaders.XForwardedProto
});
Note: The reason we “UseForwardedHeaders” is because when testing on localhost via Ngrok your app will see the protocol in use as HTTP rather than HTTPS. This then causes a problem when the OpenId Connect library constructs the Redirect Uri as it will have the HTTP protocol which is not permitted. By forwarding headers the original protocol is passed through to the app and it all just works™.
Create a secure page for testing
The final step is to create a page in our app that can only be viewed by an authenticated user.
To keep this simple we’re going to protect the “About” page as it already exists in the app. Go to the “HomeController” and add an “Authorize” directive to the “About” method.
HomeController.cs
using Microsoft.AspNetCore.Authorization;
...

[Authorize]
public IActionResult About()
{
   ViewData["Message"] = "You must be authenticated to view the About page";
   return View();
}
The “About” page now requires authentication so if an unauthenticated user attempts to view the page they will be redirected off to OneLogin to authenticate before being allowed access to the page.
Step 4: Testing our new authentication flow
Now we’re ready to test our new OpenId Connect authentication end to end against OneLogin.
First off make sure your app is running and visible via a web browser using your Ngrok url.
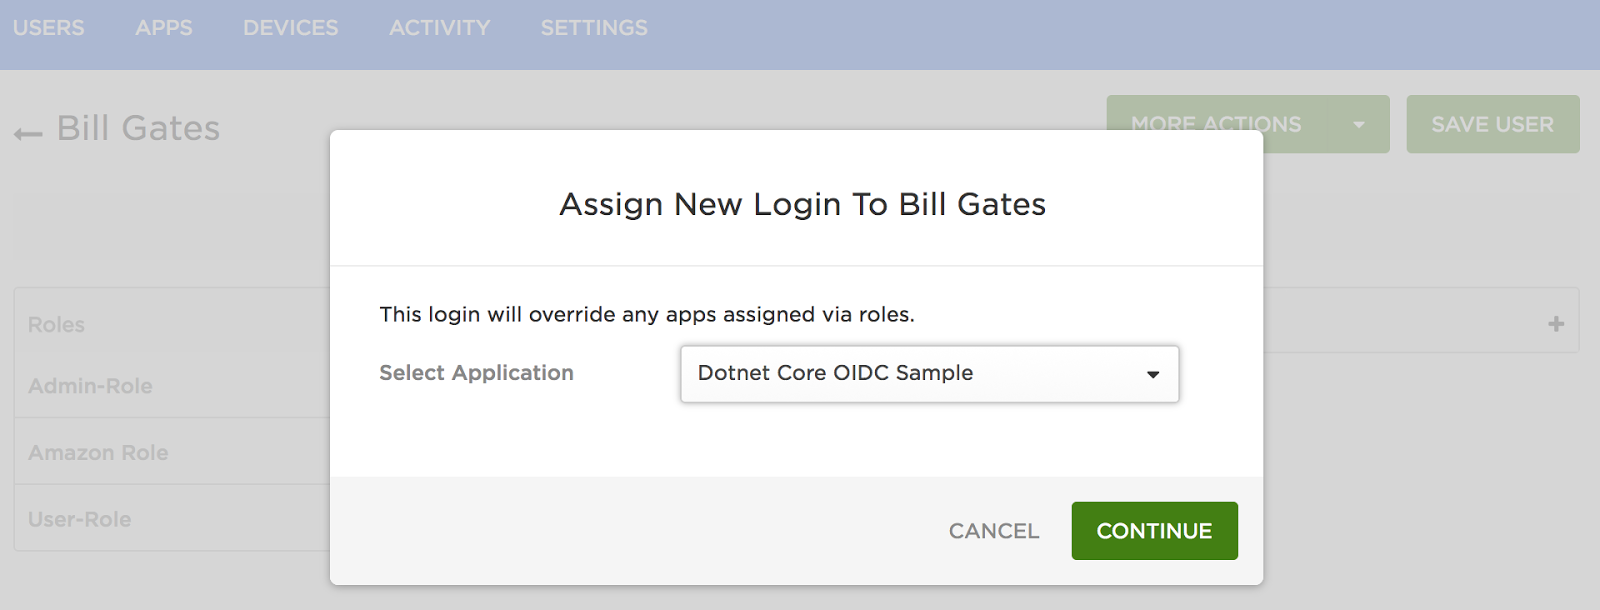
Now make sure you have assigned your user in OneLogin to the OpenId Connect application that you created. You can do this under the Users tab by selecting your user account and then adding the new application.
The final step is to actually test that the authentication flow works.
To do this simply click on the “About” menu item.

You will now get instantly redirected to your OneLogin login page where you will enter your username and password.
On successful authentication, you will be redirected back to your app where a session will be created for your user account and the About page will be displayed.
Summary
This was a really long post as there were a few items to configure. But as you can see, it’s really simple to add OpenId Connect authenticate to your Dotnet Core applications via OneLogin.
There are no additional client libraries to download and the code can run cross-platform. We’ve also made the source available on Github for this sample app so check it out and let us know if you have any questions.
For more detail on our OpenId Connect APIs and workflows see our developer documentation. You’ll also find additional user management & multi factor authentication APIs which will no doubt come in useful when baking security into your internal or customer facing applications.

Rich Chetwynd founded Litmos, the market-leading learning technology company, as well as ThisData, a data security company leading the way in Account Takeover (ATO) attack detection. After ThisData was acquired by OneLogin in Summer 2017, Rich began working with the OneLogin engineering team with a focus on adaptive authentication.